First of all, my bullet journal is purely functional. There are a lot of examples online of amazingly beautiful bullet journals with great artwork. That is definitely not what mine looks like :) That's one of the reasons I wanted to share mine. They definitely don't have to be instagram worthy pieces of beauty, they really can still work to keep you organized even when they're just messy scrawls.

Another thing is I wasn't sure if this would work for me. I had tried to use regular planners before but for some reason, I couldn't stay engaged and I always stopped using them after a while. I'm not sure why the bullet journal clicked in a way those didn't. But since I wasn't sure at the beginning, I didn't want to put a lot of money into it. My bullet journal is just a free notebook I got at a conference I went to once. So you really can use any notebook, you don't have to buy something special if you don't want to. The things I find useful for the journal to have though are lined paper, a built in book mark, a place to hook a pen on to, and a size that's small enough to be portable but big enough to get all the information in.
And it's blank when you start. Unlike traditional planners, the calendars and lists aren't already printed in for you. This may seem like a downside at first since it's extra work, but it's one of the things that makes this a good system for me. You can customize it to meet your needs and set it up the way you want. Also, having to go in every week and create the next week's pages keeps me engaged.
So how do you set it up? There are some easy steps.
1. Leave a couple pages at the front for an index or table of contents so things are easy to find.

2. Future log: A listing of all the months of the year where you can jot down appointments or events that are more than a month away

3. Monthly log: I create this page for each month at the beginning of the month. It's a calendar and task list of things I need to do that particular month. I continue to fill it in as things get scheduled for the month if its more than a week away.

4. The daily log: I set mine up a week at a time and do it on Monday mornings so I can see what I've got scheduled for the week and how I can get everything in, including my work outs.

5. Bullets: I have mine set up with different types of bullets so it's easy to see what type of task/activity I'm referring to.

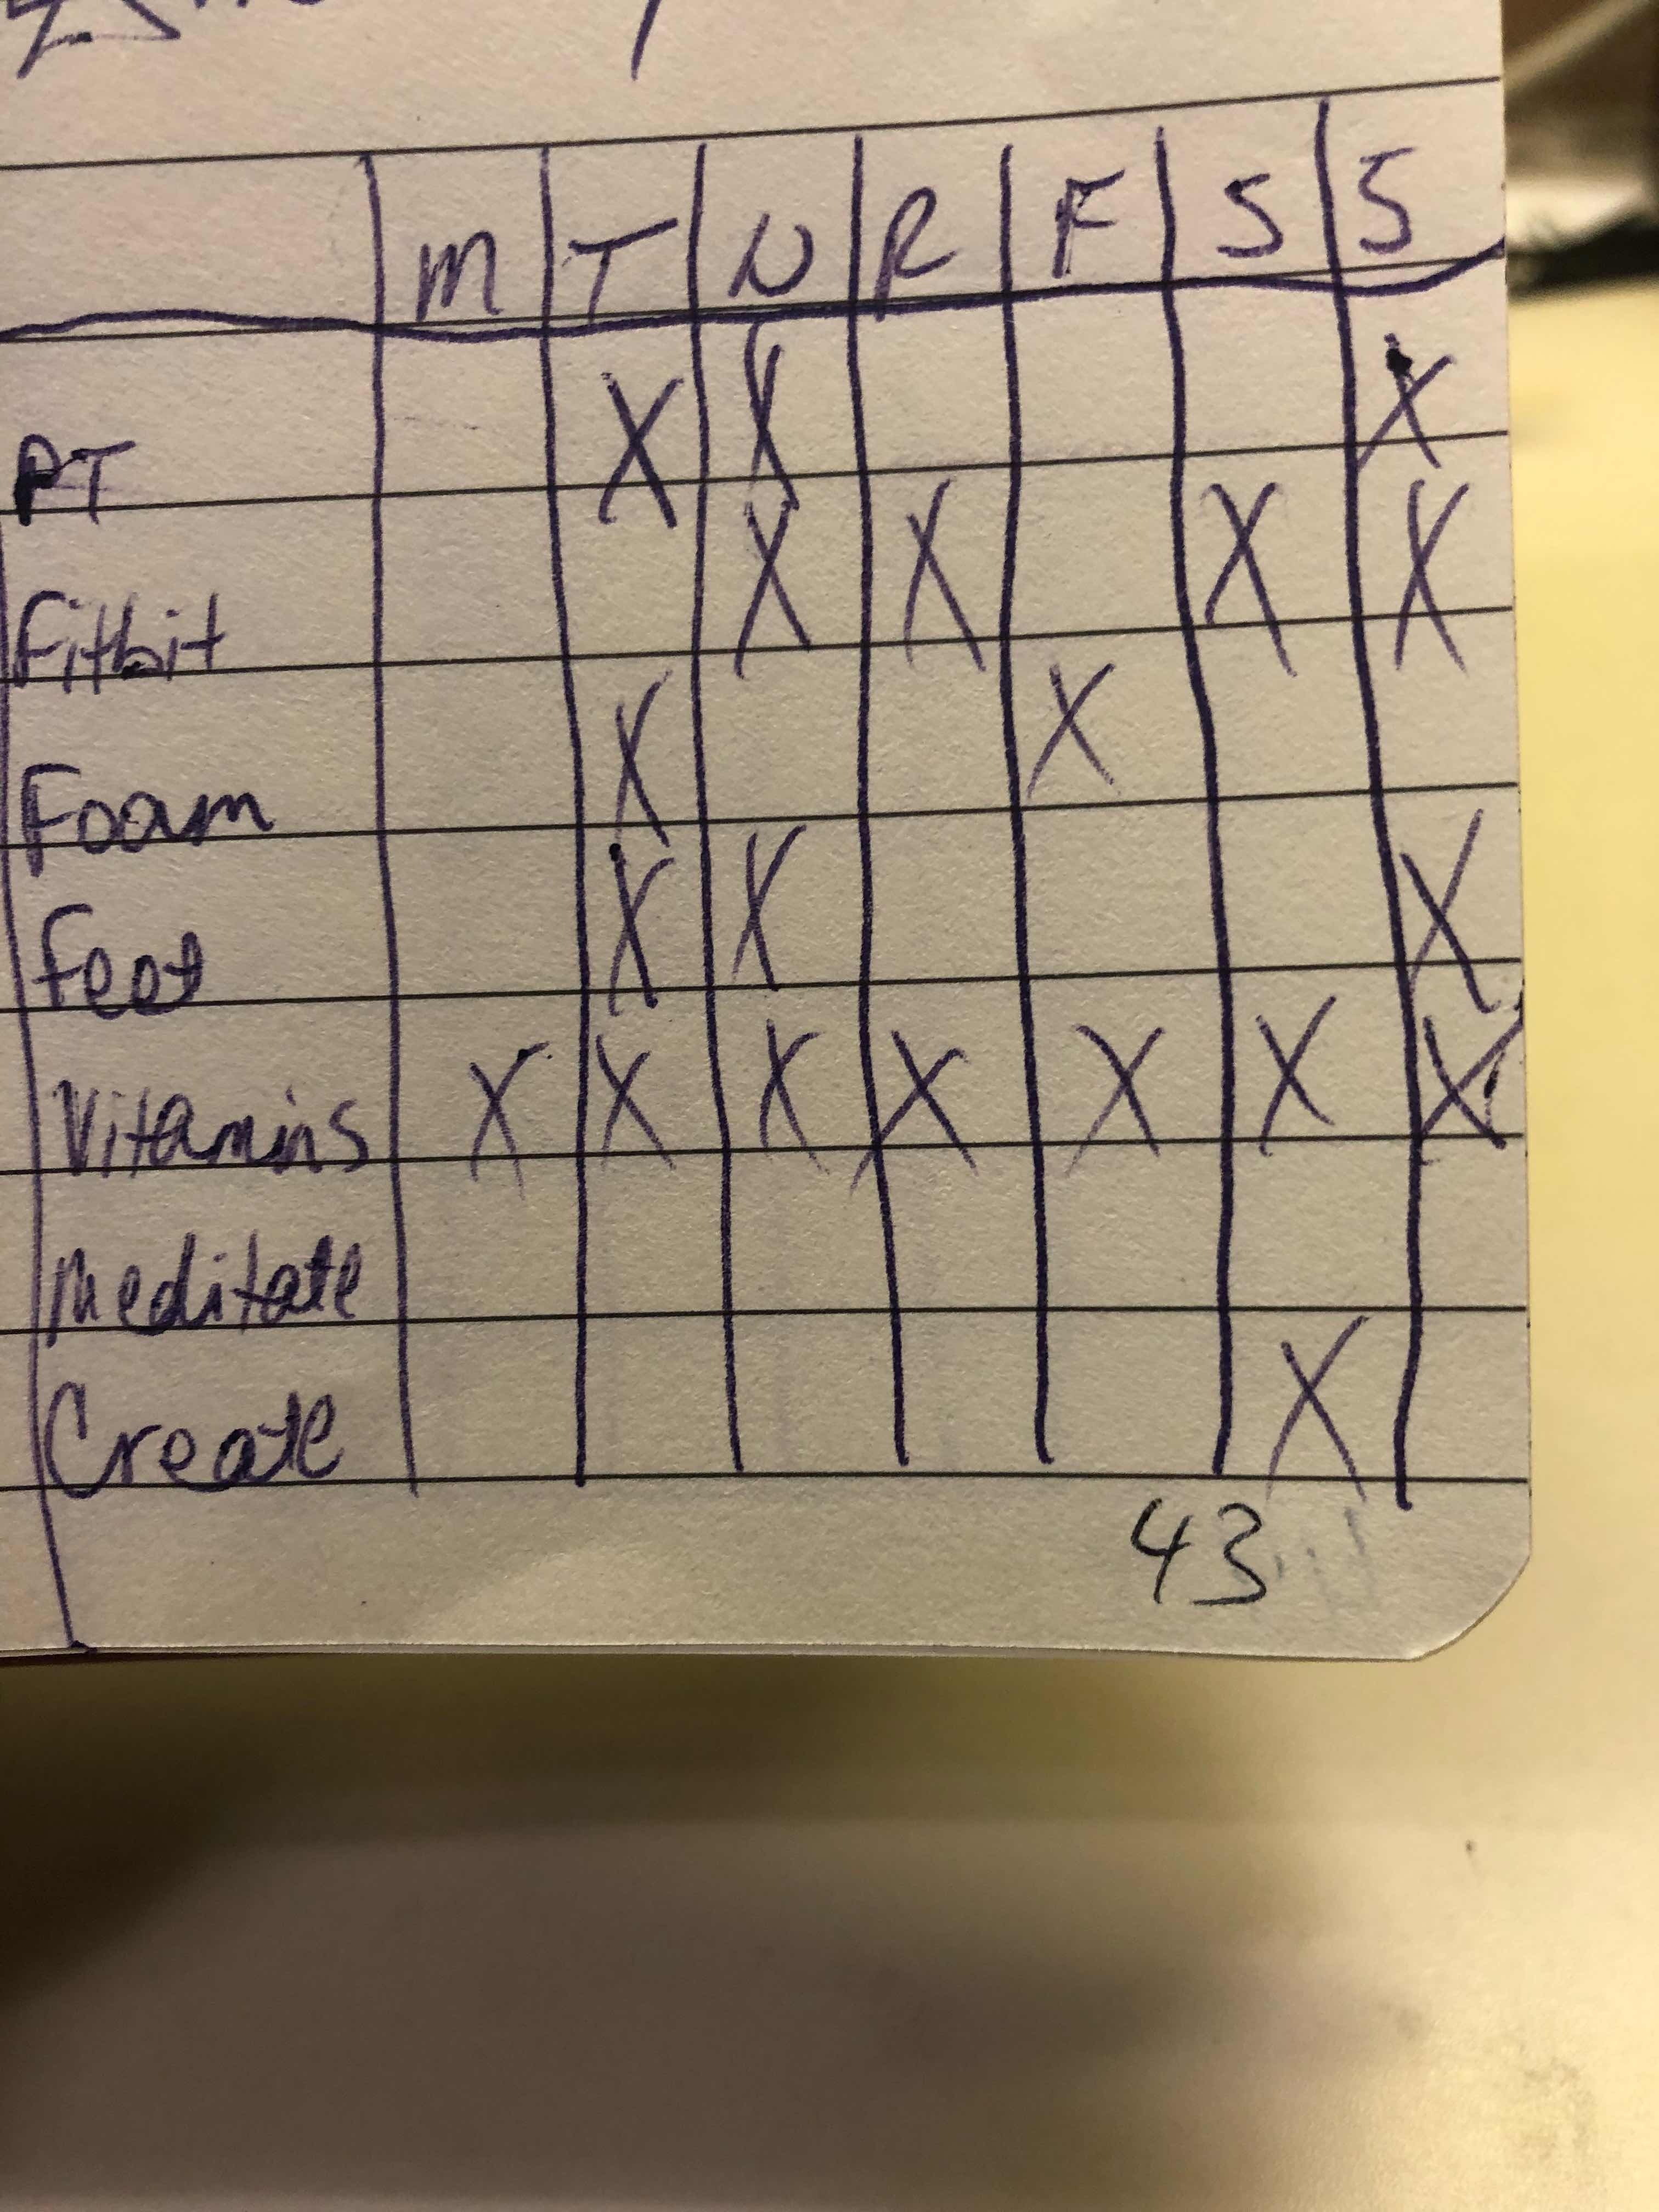
6. Optional items: And this is where you can customize and add in things that fit your needs. I have a couple lists at the end of my journal of restaurants I want to try and books I want to read since I was always getting recommendations from people and then forgetting about them when I was looking for a place to eat or new book to read. It's nice to have them all in one place like this. I also recently added a habit tracker to help me track things I want to get in the habit of doing, like my PT exercises, foam rolling, taking vitamins, meditating, etc.
And that's it! It sounds like it's more work than a normal planner but somehow, that's what keeps me engaged and coming back to it. And if I miss a week or two, that's fine. I just start up the next week and skip even putting those missed weeks in the book. But I think the fact that it's customizable to you and your needs is key! Another downside is that it's paper and not electronic, so you don't always have it with you. But if I don't have it with me, I'll make a note in my phone and then transfer the information to the book when I get back home. I'm not sure why but again, this keeps things more organized for me than just trying to use an online calendar.
No comments:
Post a Comment